Inventory: Setting up and scanning Inventory Item Barcodes on Invoices
and other Source Documents
Summary
Description
This article explains how to set up and scan inventory barcode items when processing Invoices and Credit Notes.
Resolution
Apply the following steps to achieve the above outcome:
Phase 1: Capture barcodes for individual inventory items
1. Go to Inventory | Maintenance | Inventory Items.
2. On the item grid, edit/open an inventory item record.
3. On the Information tab, select the Linked Barcodes option.

4. Capture the relevant barcode for the current inventory item. Notice that you can, if required, capture multiple barcodes per inventory item.
5. When done, click the Validate option to ensure the entered barcode is unique in the Evolution company.
6. Select the Save (or Save and Close) option to save the item barcode details.

7. On the main inventory item screen, select your default barcode for the item. When done, click OK to save the update.
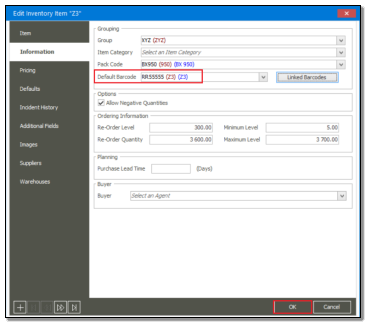
8. Repeat the above steps for all other relevant inventory items.
Phase 2: Print Label Report
This phase should be undertaken by your Evolution Business Partner. This is due to the inherent complexities involved in customizing the inventory labels report layout according to your specific business requirements.
The main objective of this phase is to customise and then run the inventory labels report that includes fields such as the inventory item code and barcode that can be scanned with a barcode scanner.
Also, note the following:
- The inventory labels report can be found as indicated below.
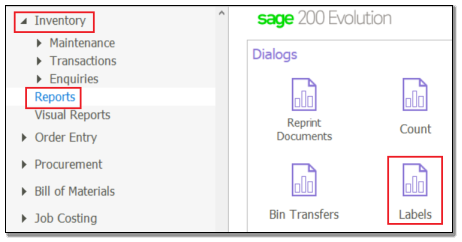
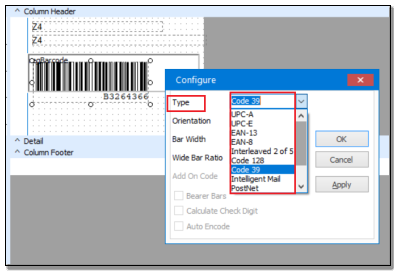
- When customising the Labels report, select the specific barcode (universal standard) type that your barcode scanner can accommodate. Evolution has a variety of barcode types available as can be seen below.
Phase 3: Attaching label stickers on individual stock items
You now need to attach the individual label stickers on each individual/physical stock item.
These label stickers are the result of running / physical printing the above, customised labels report that includes, among others, the unique barcode of the relevant inventory item.
Phase 4: Scanning of barcodes when processing transactions
This phase includes setting up and scanning your physical inventory items when processing a transaction.
To accomplish this, do the following:
1. On the invoicing transaction screen, right-click anywhere on the transaction lines section and select the Customise Grid Columns option.
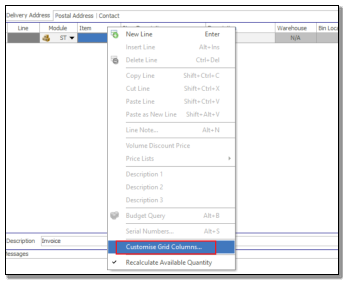
2. In the Customisation box, locate the Barcode field.
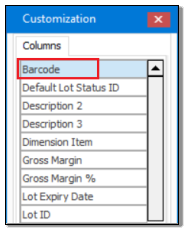
3. Now drag and drop this field to the current transaction lines header as seen below.

4. When the physical item is being sold, do the following:
a) Ensure the mouse cursor is positioned in the empty Barcode field.

b) Use the barcode scanner to manually scan the barcode on the item you are about to sell.
c) Doing this will automatically recall the relevant Item Code, Item Description, and all other transaction line fields for the currently scanned item.

d) You can now continue to process the invoice after adding/scanning additional items as required.
e) Please note that you can also scan inventory items on credit notes, as well as on GRVs if your Evolution created barcodes match those of your supplier.

