Order Entry: Setting up and working with the sales order fulfilment utility
Summary
Description
This article discusses setting up and working with the Sales Order Fulfilment utility as found in the Order Entry module.
Resolution
Apply the following steps to achieve the above outcome:
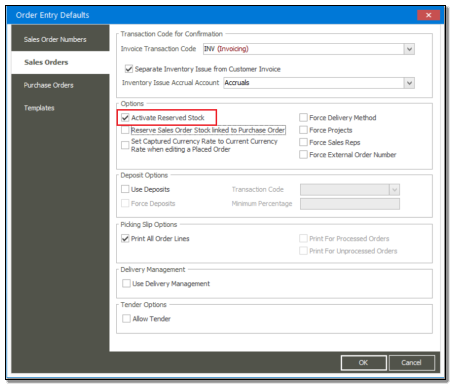
1. Go to Order Entry | Maintenance | Order Defaults | Sales Orders tab, select the option marked below, and save the change.
2. In this explanation we’ll create a new Inventory Item called X5. In your live company apply these steps on your relevant Inventory Items.
3. Capture and Place a new Sales Order for 20 units of item X5. Don’t process the Sales Order.

4. Capture and process a new GRV for 50 units of item X5 to increase the stock quantities.

5. Go to Inventory | Enquiries. Find Item X5 and notice the following values on the Item Information tab. These Values agree with the 50 units available and
the current quantities on Sales Orders.

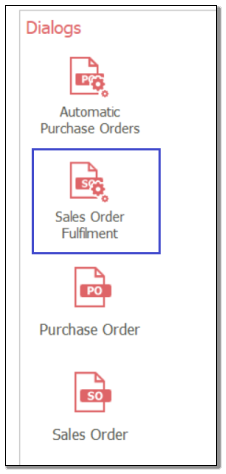
6. Go to Order Entry | Transactions | Sales Order Fulfilment.
7. Set up the filters on the top of the screen and click the View button. Notice the records displayed on the transaction line. Currently, the New reserved field displays zero quantities.

In your case, there may be several Sales Orders listed above, that need updating of their Reserved quantities.
Doing this will reserve specific stock units per sales order. This will prevent other sales orders (to potentially other clients), from taking up current available units in stock.
8. Therefore, capture the relevant New Reserved quantities per line and click the Validate button on the top.

9. The Validation message should display if everything is in order (e.g., sufficient quantities are available to be reserved).

10. Click the Process button when ready to continue.

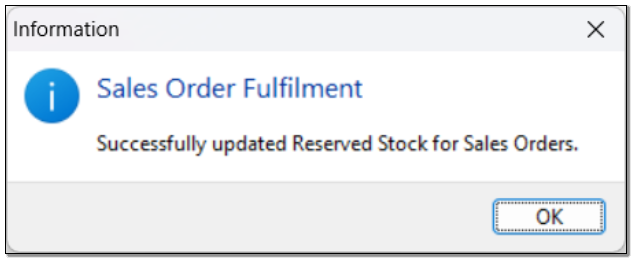
11. Click Ok on this message.
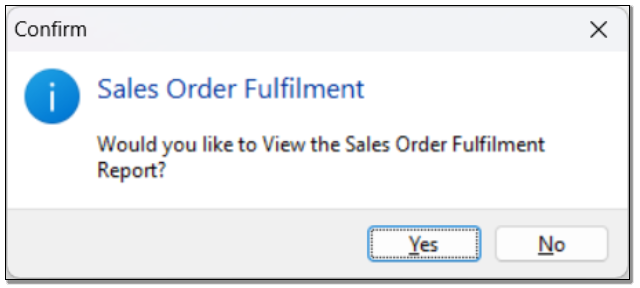
12. Click Yes on this message prompt if you need to print the report.
12. Click Yes on this message prompt if you need to print the report.
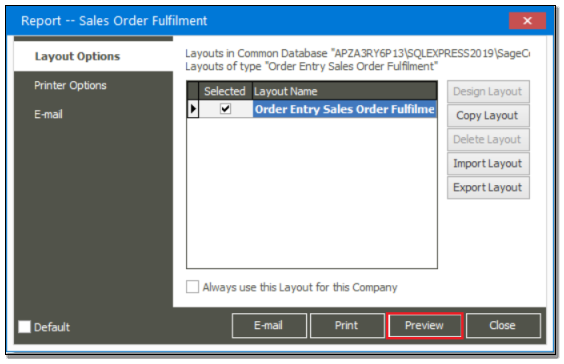
14. Notice the results below of the details captured in Step 8 above.

15. When you close the report, you should notice the message below confirming that your changes are saved.

15. When you close the report, you should notice the message below confirming that your changes are saved.
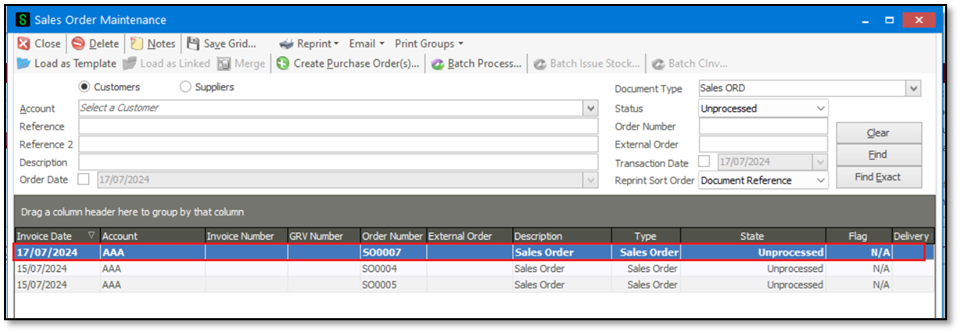
18. Here you’ll notice ethe Reserved field on the relevant transaction lines have been populated in accordance with Step 8 above.

19. Finally, go to Inventory | Enquiries. Find Item X5 and notice the following values on the Item Information tab. These new/updated values agree with Step 8 above.


